Mastering the Flow: A Deep Dive into the Lively at Antoine Plumbing Project
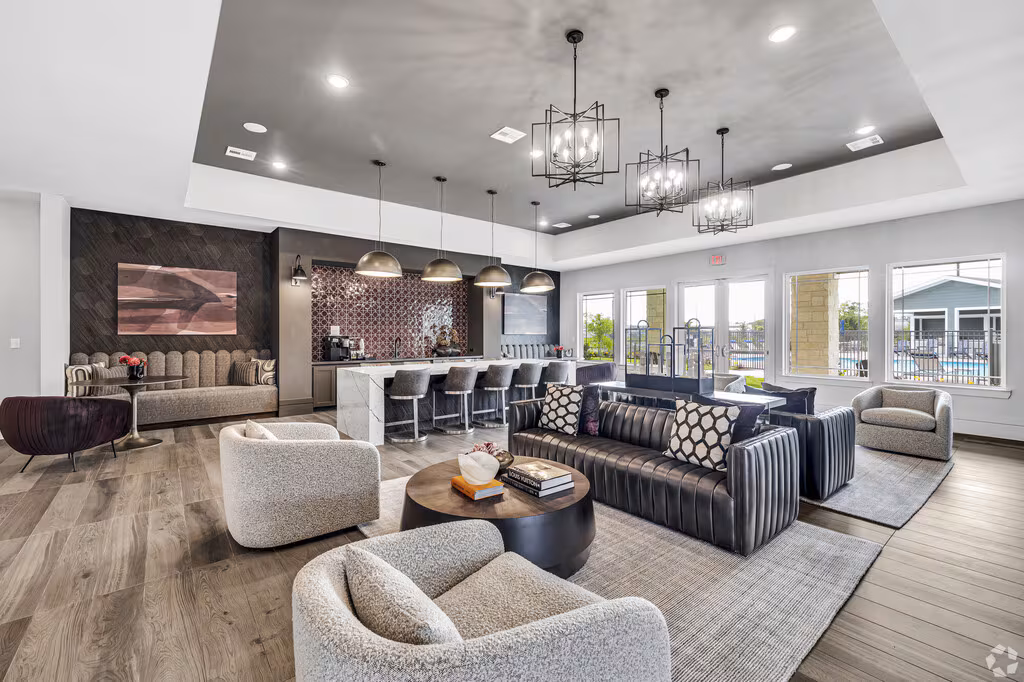
At PPX Plumbing, we pride ourselves on tackling complex, large-scale multifamily projects with precision, efficiency, and a commitment to longevity. The Lively at Antoine—a premier multifamily development located in Houston, TX designed to offer modern, high-density urban living—was a showcase of our expertise, requiring meticulous planning and execution across all phases of the plumbing installation, from the subterranean foundation to the final fixture trim-out.
The success of any multifamily project starts beneath the concrete slab. This initial phase demands exact coordination with the general contractor and other trades (electricians, HVAC) to ensure seamless installation.
1. Underground Sanitary and Storm Systems
Before the slab pour, we established the main sanitary sewer lines and storm drainage systems.
Materials: We utilized durable, high-density materials, primarily SDR 35 PVC for the sanitary lines and Sch. 40 PVC for deeper-burial storm lines.
Grading: Achieving the correct slope or pitch is non-negotiable. Every pipe run must maintain the required minimum fall (typically $1/4″$ per foot or $2\%$) to ensure gravity-fed waste flows freely and prevent clogs. We used laser levels and precise grade sticks to verify every run before inspection.
Foundation Penetrations: All stub-ups for apartment stacks and common area drains were installed with protective sleeves and properly braced to prevent movement during the concrete pour.
2. Water Service Entry
The main water service was installed, including the necessary backflow preventer assembly and pressure-reducing valve (PRV) station, sized appropriately to handle the peak demand flow rate of the entire complex. Coordination with the municipal water authority was paramount during this process.
Phase II: Vertical Stacks and In-Wall Rough-In
Once the foundation and vertical structures were in place, we began the crucial above-slab rough-in within the wood or steel framing of the building.
1. Vertical Stacks (Drain, Waste, and Vent - DWV)
The heart of the building’s plumbing is its vertical risers.
Sanitary Stacks: We installed PVC DWV piping throughout the vertical chases. Proper sizing was essential, especially for main stacks, which had to accommodate the drainage fixture units (DFUs) from multiple floors.
Venting: A robust venting system ensures proper atmospheric pressure is maintained in the drainage pipes, preventing trap siphoning.1 We ran dedicated vent stacks, tied them into the main stacks, and extended them through the roof in accordance with code (using specific termination heights and clearances).
Fire-Rated Penetrations: Where pipes passed through fire-rated walls or floor assemblies, we installed fire-stop collars and sealants (e.g., intumescent firestop systems) to maintain the building’s fire rating—a critical life-safety requirement in multifamily construction.
2. Water Distribution Lines (In-Wall)
For The Lively at Antoine, we opted for a robust and modern water distribution system.
Materials: We predominantly used PEX (Cross-linked Polyethylene) tubing for hot and cold-water distribution within the apartment units due to its flexibility, resistance to scaling, and ease of installation. Main risers and horizontal distribution lines (mains) were often installed using copper (Type L or M) or sometimes CPVC for superior flow rates and rigidity.
Manifold System: Many units utilized a PEX manifold system, which centrally routes individual, dedicated PEX lines to each fixture (sinks, toilets, showers).2 This design enhances water pressure and simplifies future service and isolation.
Sizing: Water lines were sized to maintain adequate pressure and volume at the furthest fixture, often requiring $3/4″$ or $1″$ lines for main runs, dropping to $1/2″$ lines for fixture connections.
Phase III: Apartment and Common Area Rough-In Details
In each apartment, the rough-in required precise measurements and standardized placement.
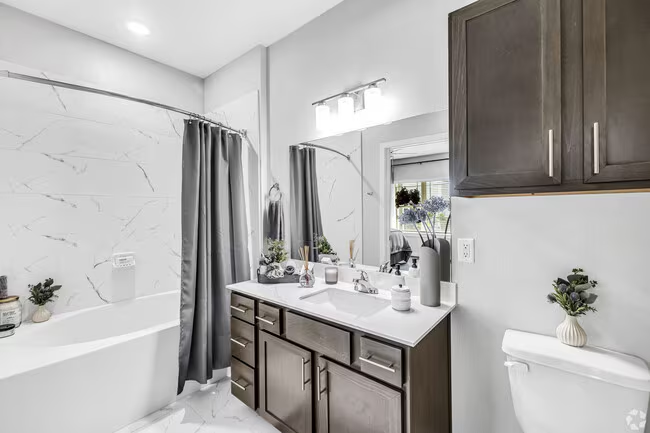
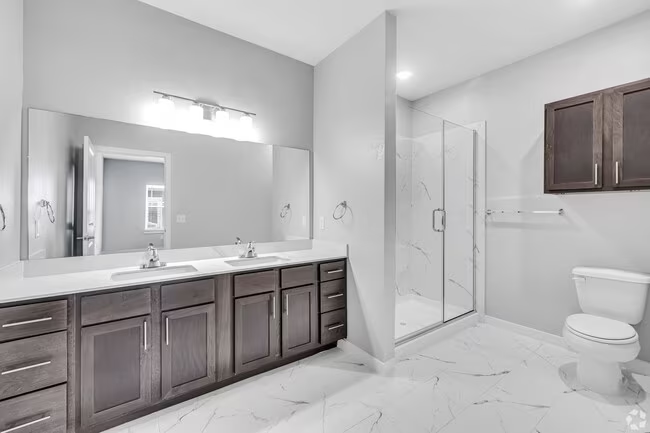
Fixture Type | Key Rough-in DetailsShower/Tub | Installation of the shower valve body (secured to a blocking frame) at a precise height (typically 48″–50″ from the subfloor). Placement of the tub spout riser or shower head arm. Lavatory (Sink) | Installation of hot and cold water supply lines, and the $1-1/2″$ P-trap connection for the drain, all centered and set at standard heights (often 18″–20″ off the finished floor). Toilet | Installation of the closet flange, precisely centered (typically 12″ from the finished wall), and the $1/2″$ dedicated stop valve for water supply. Kitchen Sink | Connections for the garbage disposal, dishwasher drain, and separate hot/cold supplies.
Common Areas: The plumbing for the common areas (fitness center restrooms, leasing office, and amenity kitchen) was integrated with the main building systems, including the often-complex plumbing required for specialized equipment like commercial ice machines or pool restrooms.
Phase IV: Testing and Final Trim-Out
1. System Testing (The Proof of Quality)
Before drywall installation, the entire plumbing system was rigorously tested.
DWV (Drain/Waste/Vent) Test: The system was water-tested, where all DWV lines were capped and filled with water to a specific height (usually to the roof line or 10 feet of head pressure) and held for a specified period (e.g., 15 minutes) to ensure zero leaks.
Water Supply Test: The pressure lines (PEX/Copper) were pressurized with air (typically to $100$ PSI) and held for several hours. A drop in pressure indicates a leak, which must be immediately located and repaired before walls are closed.
2. Fixture Installation (The Finishing Touch)
The final phase is the trim-out—the visible face of the entire operation.
Faucets and Trim:
Installation of the finished shower/tub trim, kitchen, and bathroom sink faucets. Careful handling of high-end fixtures was essential to prevent scratches.
Toilets:
Installation of all water closets using a new wax ring/gasket and proper bolting to the closet flange.
Appliances:
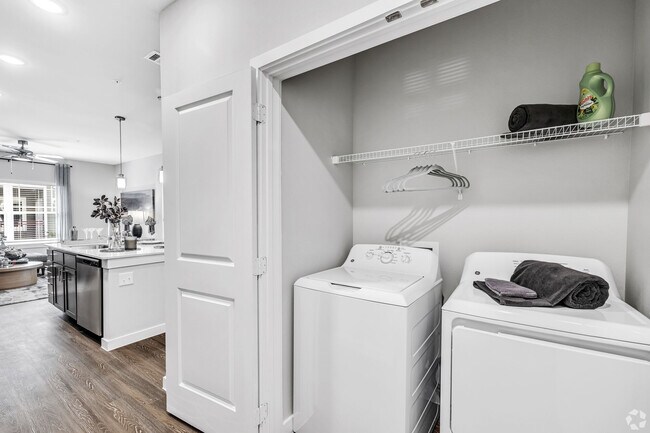
Connecting water lines for washing machines, refrigerators with ice makers, and dishwashers.
Water Heaters:
The central plant or individual unit water heaters (tankless or traditional) were set, vented, and connected to the distribution system.
The Lively at Antoine project underscored the PPX commitment to excellence. By adhering to strict standards in material selection, grading, pressure testing, and final installation, we ensured that this luxury development enjoys a plumbing system that is reliable, efficient, and built to last the life of the structure.